
Web3 Project Intro: Easy Ways to Dip Your Toes Into the Decentralized World
Web3 Project Intro: Easy Ways to Dip Your Toes Into the Decentralized World
Introduction: Understanding the Basics of Web3
Web3 project intro is the next generation of the internet, built on decentralized infrastructure like blockchains and smart contracts. Unlike Web2, where platforms own your data, Web3 puts control in your hands using cryptographic wallets and permissionless protocols.
This guide breaks down five beginner-friendly Web3 projects with a technical lens—no jargon, just step-by-step logic and safe entry points.
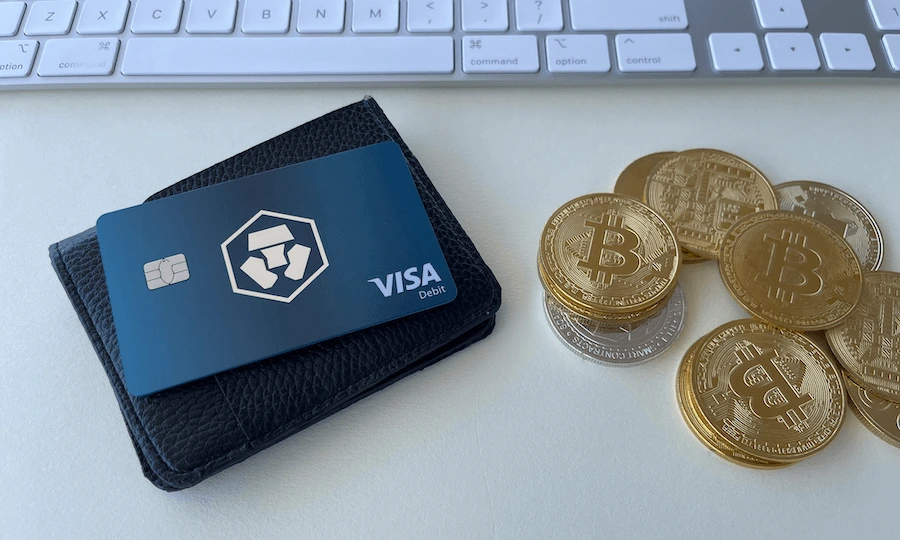
1. Set Up a Crypto Wallet is a Foundational Step in Web3 Project Intro
What It Is:
A crypto wallet stores your blockchain identity—your private/public key pair—and lets you sign transactions.
Tool to Use:
- MetaMask – A browser-based wallet with mobile support.
Steps to Follow:
- Install MetaMask.
- Create a new wallet and save your 12-word seed phrase securely offline.
- Fund your wallet with a small amount of ETH or testnet tokens.
Tech Tip: Your seed phrase is your master key. Losing it means losing access to your assets.

2. Join a DAO (Decentralized Autonomous Organization) is a Way of Web3 Project Intro
What It Is:
DAOs are community-governed groups that use on-chain voting and pooled funds managed by smart contracts.
How to Join:
- Visit a DAO like Friends with Benefits or Forefront.
- Join their Discord.
- Observe or vote on proposals using governance tokens.
Tech Note: DAOs operate on chains like Ethereum and use ERC-20 tokens for voting rights.

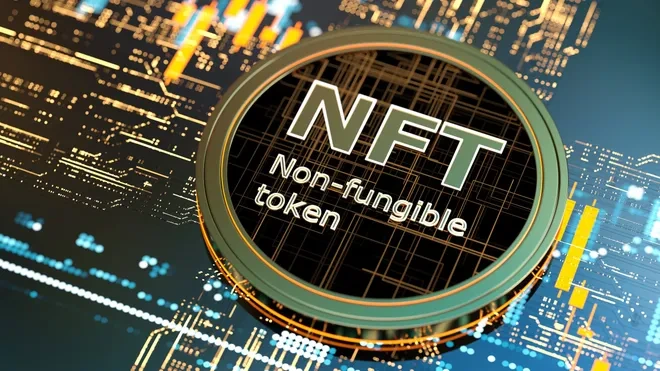
3. Mint an NFT (No Coding or Huge Costs Required)
What It Is:
An NFT (non-fungible token) is a digital asset with a unique ID on the blockchain. Minting = publishing it on-chain.
Platforms to Try:
- Zora
- Mirror
Steps:
- Connect your wallet.
- Upload content (image, text, video).
- Confirm the minting transaction.
Tech Tip: Minting on Layer 2 chains (like Optimism) keeps gas fees low. Metadata may be stored on IPFS or Arweave.

4. Explore Learn-to-Earn and Play-to-Earn Protocols
What It Is:
These platforms incentivize learning through quests, tutorials, and mini-challenges that pay in crypto.
Examples:
- RabbitHole
- Layer3
What You’ll Do:
- Connect your wallet.
- Complete tasks like using a DEX or sending a transaction.
- Receive token rewards for proof-of-completion.
Tech Insight: These apps use smart contracts to verify on-chain actions and issue rewards.
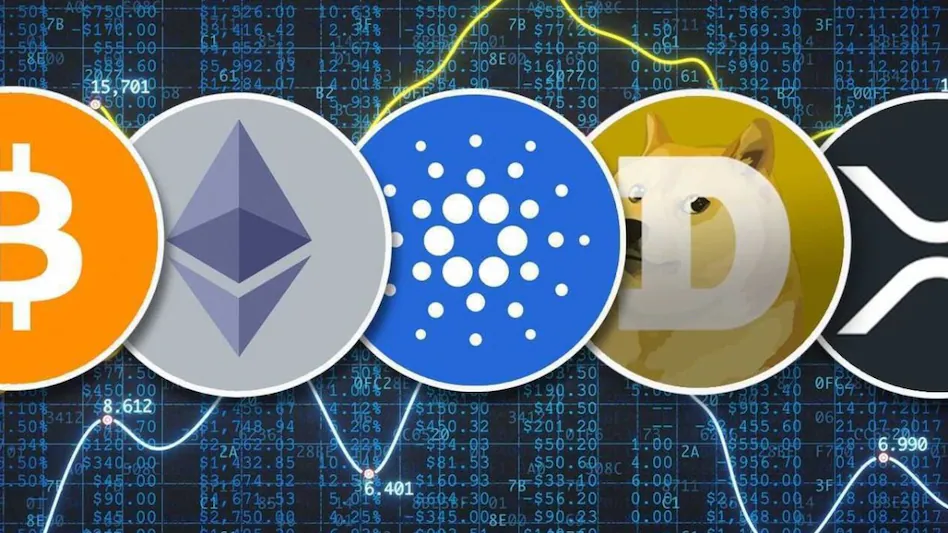

5. Use a DEX: Swap or Stake Tokens
What It Is:
A DEX (Decentralized Exchange) lets users trade crypto without centralized control. You retain custody of funds.
Platforms to Try:
- Uniswap
- SushiSwap
Steps to Try:
- Connect your wallet.
- Select a trading pair (e.g., ETH to USDC).
- Confirm the swap.
Staking (Optional):
- Deposit tokens into a liquidity pool or governance protocol.
- Earn passive income via token emissions or fees.
Always verify contract sources and understand impermanent loss when staking.
Why Technical Onboarding to Web3 Matters
Understanding the tools behind Web3 makes onboarding smoother—and safer. This isn’t about speculation or hype. It’s about using wallets, DAOs, and smart contracts in controlled, beginner-safe ways.
The more technical confidence you gain, the more empowered you are to experiment and participate in the decentralized ecosystem.
Final Takeaway: Web3 Doesn’t Have to Be Intimidating
Your Web3 journey doesn’t have to start with investing or building—it can start with using. Pick one project, try it, and see how it feels. Every on-chain action helps demystify the system and builds technical literacy.
Start small. Stay curious. The blockchain’s not just for developers—it’s for anyone who wants to learn.
Relevant Link : Here